A small update of the rmap library
Jul 4, 2020 • Arnout Roemers

As you may know, the Clojure rmap library allows you to define recursive maps (or vectors), i.e. maps with entries that can refer to other entries in the same map. You can read more about it in this blog post. Version 2.2.0 of the library has three new small but powerful additions. This post introduces them and also shows an example what you could do with it.
Plain data maps
With the former version of rmap you can create recursive maps both literally and programmatically.
The latest version adds the possibility to do this with pure data.
For this you use the #rmap/ref tagged literal.
Let’s have a look at an example:
(def my-data-map
  {:foo 1
   :bar #rmap/ref :foo})

(valuate! my-data-map)
;=> {:foo 1, :bar #rmap/ref :foo}
When the map is valuated, you see that nothing happens.
This is only logical, because valuate! works on recursive values (an rval).
So we need to transform our plain data map into a recursive map, i.e. a map with recursive values.
To do this, we use the second addition to the rmap library: the rmap macro now supports existing (non-literal) maps.
In that case it transforms an existing map into a recursive one, by simply wrapping the values into recursive ones.
Let’s expand our example a bit:
(def my-rmap (rmap my-data-map))
;=> {:foo ??, :bar ??}

(valuate! my-rmap)
;=> {:foo 1, :bar 1}
Now you see that the :bar entry is valuated as expected, just as if it would have used the existing (ref :foo) function.
This works because the result of an evaluated recursive value is automatically post-processed by “walking” through the result and resolving any #rmap/ref tags it encounters.
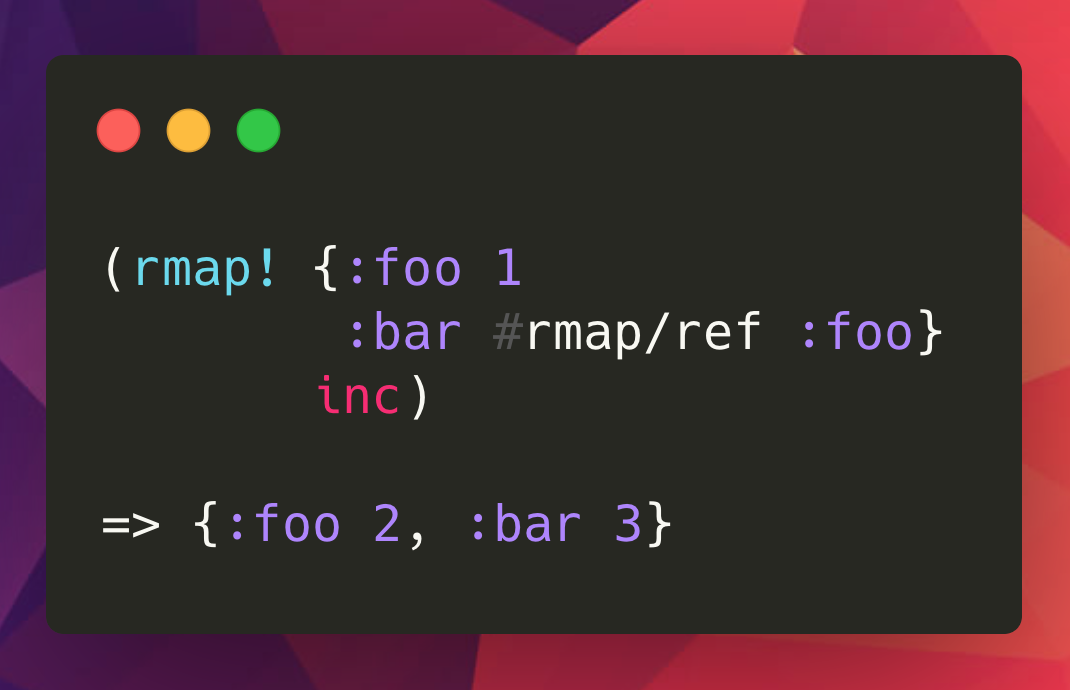
By the way, the former example could therefore also have been written in a single expression, by using rmap!.
Custom post-processing
The third addition to the library is the ability to pass an extra argument to valuate!, and by extension also to rmap!.
This optional argument is a 1-arity function receiving a Clojure MapEntry, which can transform a just evaluated recursive value.
This post-processing is done right after the #rmap/ref tags have been processed.
Let’s expand our example again:
(valuate! my-rmap (comp inc val))
;=> {:foo 2, :bar 3}
Note the inc processing on the value passed to valuate!.
To explain the result, let’s go through the evaluation of the :bar entry step by step.
- The recursive value of
:barevaluates to#rmap/ref :foo. - This value is processed to resolve any
#rmap/reftags. In this case the:fooentry is referred to, so we need to evaluate it. - The recursive value of
:fooevaluated to 1. - That value is processed to resolve any
#rmap/reftags, of which there are none. - Now the value is post-processed with the composed
incfunction, transforming the final value of:footo 2. - The value of
:baris therefore also 2 - Lastly, that value is also post-processed with the
incfunction, transforming the final value of:barto 3.
This may seem a bit complicated, but remember this is all happening under the hood. From a user’s perspective it is quite natural to work with.
Your own Integrant or Clip
Above examples can be a bit abstract too see what kind of possibilities this yields. Let me give an example that you could really use. Let’s create a small setup that allows you to create a system component configuration from plain data. Or in other words, something similar to the Integrant or Clip library, with just the building blocks from rmap and from the redelay library.
First, let’s create a small system configuration in plain data:
(def sys-conf
  '{:config {:start load-config}

    :http {:start start-server
           :stop  stop-server
           :args  [#rmap/ref :config]}})
Next, we should create the component start/stop functions the data refers to:
(defn load-config []
  {:http {:port 8080}})

(defn start-server [config]
  (str "org.eclipse.jetty.Server@" (-> config :http :port)))

(defn stop-server [server]
  (println "Stopping" server))
All we need to do now is define how the data must be interpreted, as a post-processing function.
In this case, we make and activate a redelay State from each entry.
(defn mk-state [[_key {:keys [start stop args]}]]
  @(redelay/state :start (when start (apply (resolve start) args))
                  :stop  (when stop  ((resolve stop) this))))
Done! We can now start our system, use it and stop it:
(defn start []
  (rmap! sys-conf mk-state))

(defn stop []
  (redelay/stop))

(start)
;=> {:config {:http {:port 8080}}
;=>  :http   "org.eclipse.jetty.Server@8080"}

(stop)
In just a few lines, we’ve just rolled our own system-configuration-state-lifecycle-management setup! I hope this shows you what you can do with the building blocks the rmap library offers, and once again shows the flexibility of the redelay state management library. By changing or adding some more lines you can make it work just the way you like it for your purposes.
As always, have fun!
UPDATED: Original article covered 2.1.1. It now covers 2.2.0.